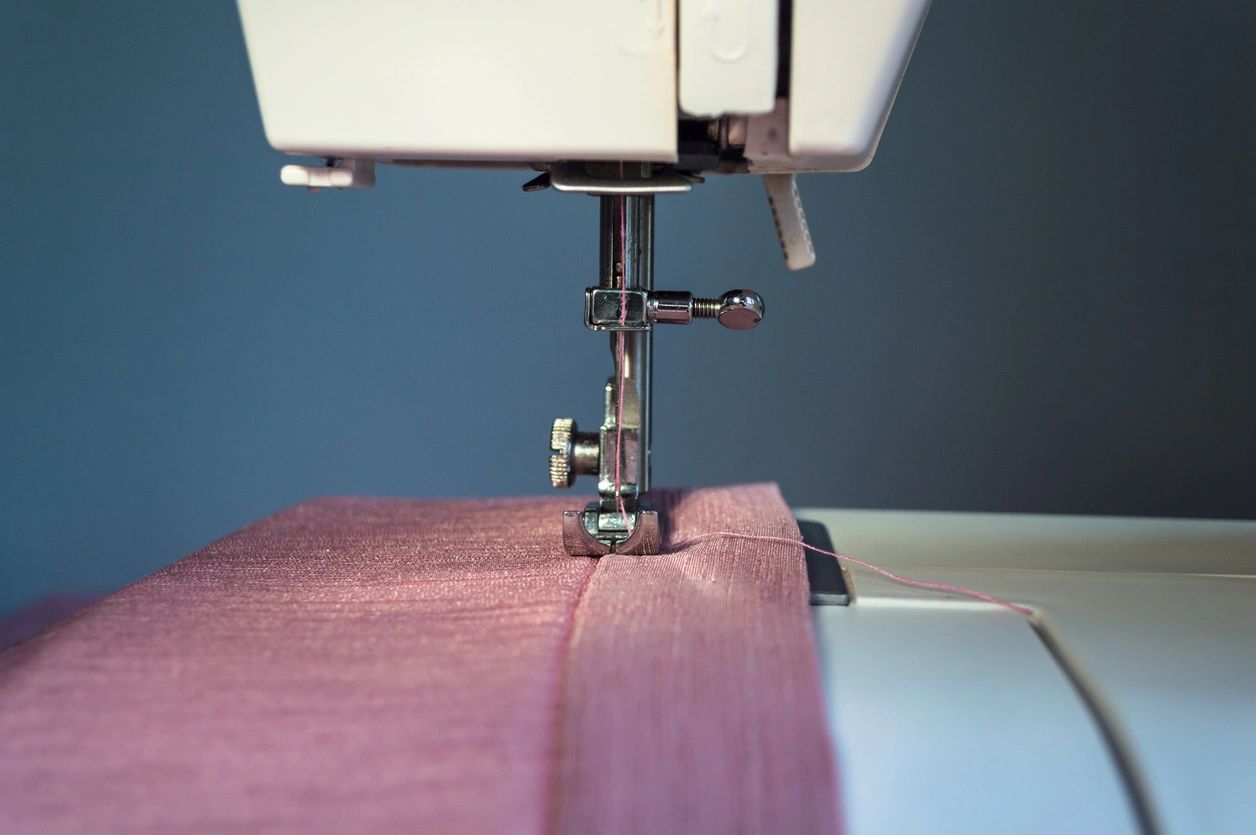
Sewing a straight seam: start with a sample
Practice on scraps of the actual fabric before sewing the garment. Choose a suitable needle and thread, mark the seam allowance and check whether the project needs stretch or a different stitch.
By hand: a simple running stitch
- Thread a suitable needle and secure the end as appropriate for the project.
- Mark the stitching line and hold or secure the layers together.
- Pass the needle in and out along the line, keeping stitch and gap sizes consistent.
- Pull the thread gently so the fabric lies flat rather than puckering.
- Secure the end and check the seam before trimming or finishing.
A running stitch is useful for simple work and basting, but it may not provide the strength or stretch needed for every garment seam.
With a sewing machine
- Follow your machine’s manual for threading, needle installation and straight-stitch selection.
- Test the needle, thread and stitch length on the fabric sample.
- Align the edge with the desired seam guide and lower the presser foot.
- Guide the fabric steadily while the machine feeds it; avoid pulling it through.
- Secure the seam using the method your machine and project specify.
Keep the line consistent
Watch the seam guide rather than trying to follow the needle. Work slowly and remove pins before the needle reaches them. Stop and adjust the sample if stitches skip, thread loops appear or the seam puckers.
Use model-specific guidance
SINGER’s manual and stitch-guide resources are a starting point for its machines. Use the instructions for your own model and follow its safety guidance when changing needles or servicing it.
Repair before recoloring
Assess seam and fabric condition before a dyeing project. Dye cannot repair a weak seam, and repair thread may take color differently. Our beginner’s dyeing guide explains the initial garment checks.