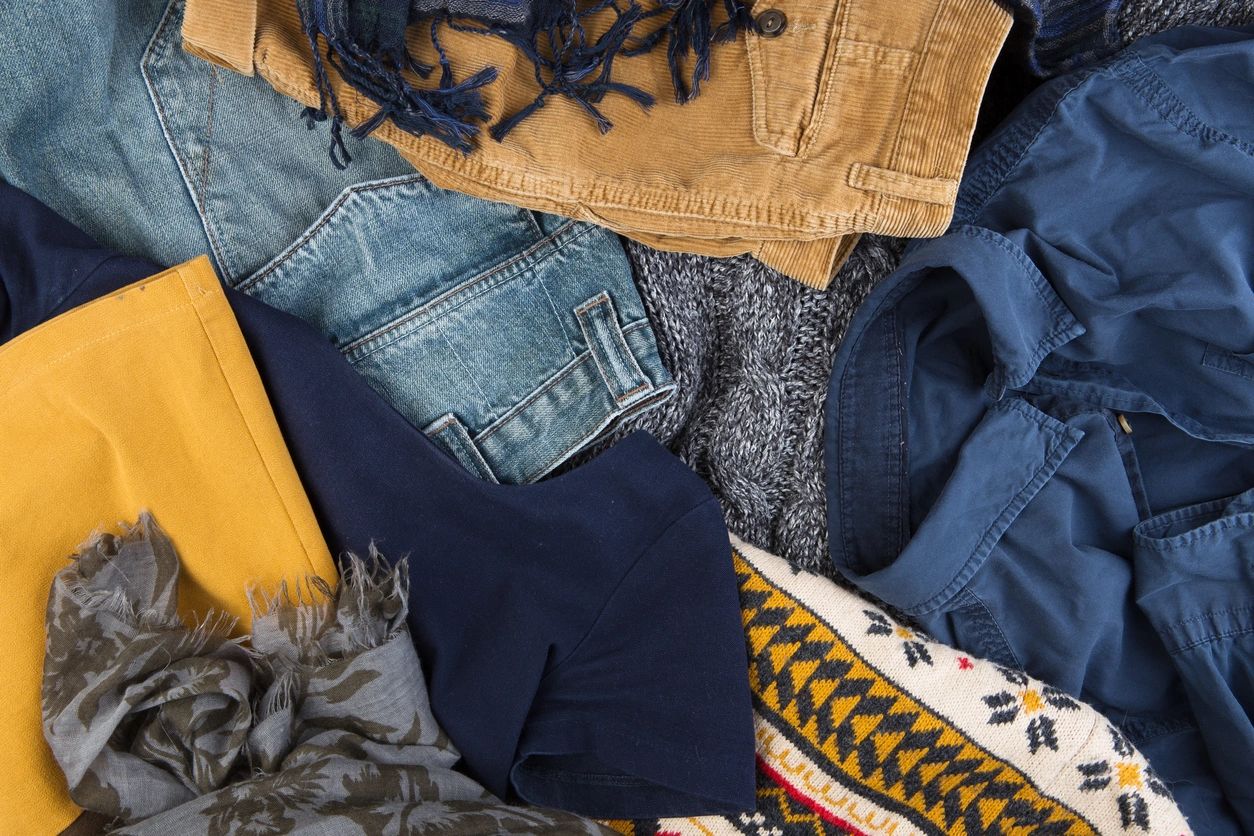
Garment dyeing applies color to an already constructed item. It may refresh suitable clothing or support a planned production style, but it does not automatically produce an exact shade, even color or lower environmental impact than another process.
Begin with the whole garment
Read fiber and care labels, including the lining where available. Inspect thread, fastenings, stretch components and finishes. The outer fabric may take color while another component stays contrasting.
Define the change you want
Record the current shade and use a physical reference for the target. Darkening is a different task from lightening. A print, stain or faded area may remain visible after dyeing.
Choose home treatment or a professional assessment
A home project needs a compatible consumer product and a process the garment can tolerate. A valuable dress, jacket or unfamiliar blend may need specialist evaluation. Ask whether the provider accepts finished garments, rather than assuming a fabric dyer does.
Plan a representative sample
Spare fabric or a suitable trial item can reveal shade, shrinkage and changes in handle. Agree on acceptable variation before a larger batch. A sample cannot guarantee that every trim or repaired area behaves identically.
Complete finishing and aftercare
Follow the selected dye manufacturer’s instructions or the provider’s written care advice. Rinsing, washing and any specified fixing treatment are part of the process. Do not add improvised mixtures to make the color “permanent.”
Prepare your first inquiry
Send whole-item photos, labels, quantity, target-color reference and deadline. Read our garment dyeing guide, compare clothes dyeing services, or request quotes.