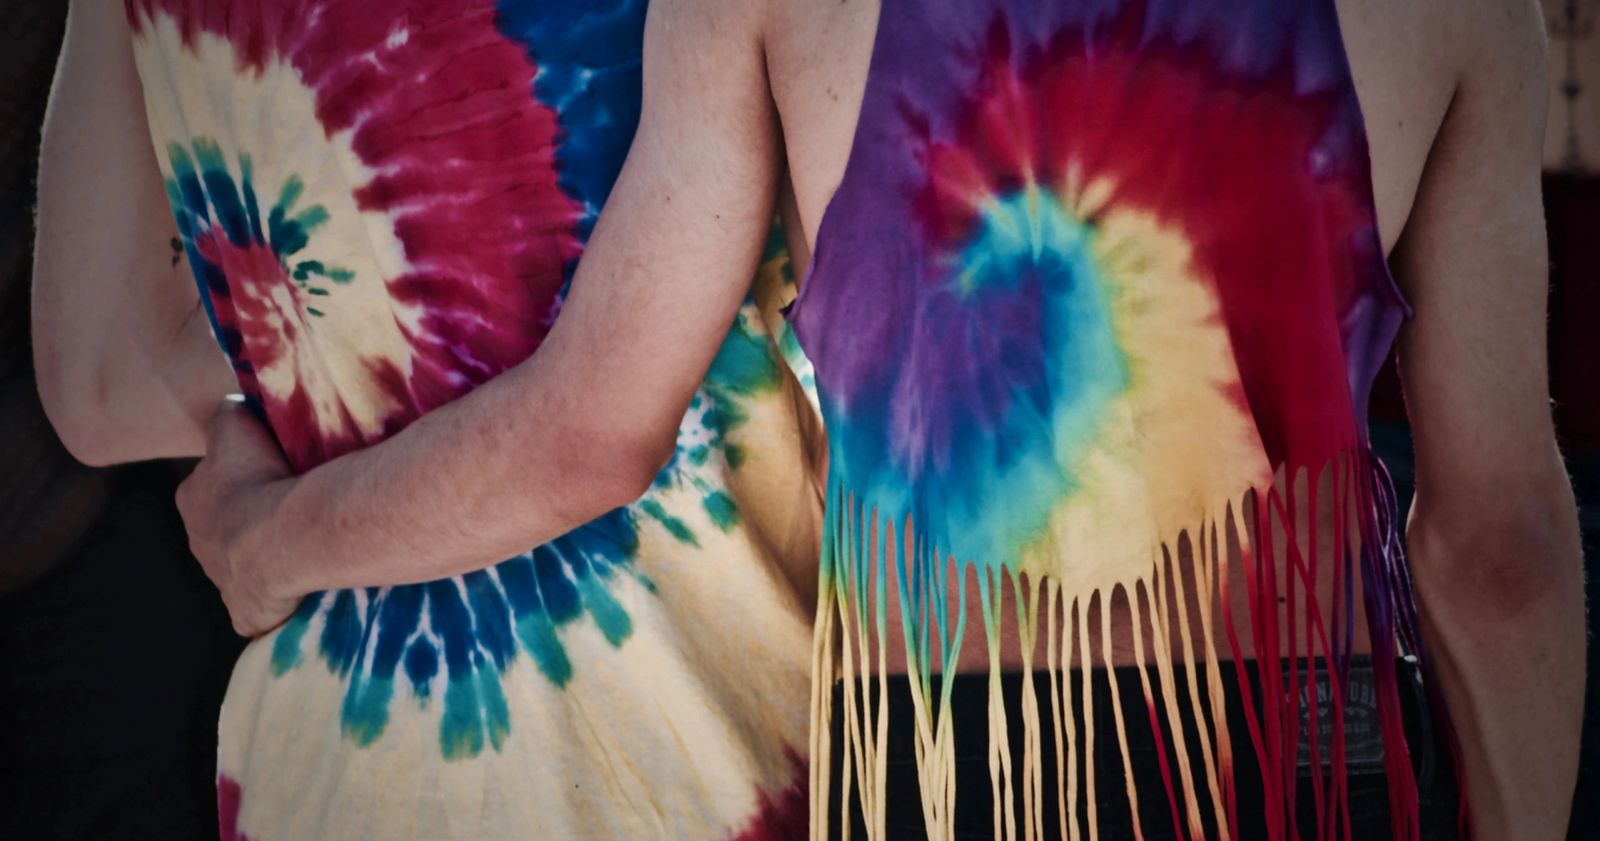
The next step after applying tie-dye depends on the actual dye or kit. Follow its complete setting, rinsing and first-wash instructions. Rinsing immediately or adding a household “fixative” can conflict with the process.
Complete the specified setting stage
Keep the item under the conditions and for the duration required by the product. Do not substitute a universal 24-hour rule. Kits and dye systems differ, so retain the package directions until the project is finished.
Rinse in the directed sequence
Check when to remove bands or bindings and which water conditions the instructions require. Wear the specified protection and protect nearby surfaces from loose color. Rinsing is part of removing excess color; it is not proof that every dye has bonded correctly.
Use the correct first wash
Follow the product’s temperature, detergent and washing directions together with the garment’s care limits. Keep the newly dyed shirt separate where transfer is a concern. Cold water and the gentlest cycle are not universal requirements for every dye’s initial wash-off.
Skip improvised vinegar or baking-soda soaks
Use a fixing chemical only if the actual process calls for it. Baking soda is not automatically interchangeable with soda ash, and vinegar is not a universal tie-dye setter.
Dry and evaluate
Follow the garment and dye instructions for drying. Inspect the dried shade, pattern and feel. If the shirt continues to transfer color, contact the manufacturer before wearing it against light fabrics or treating it again.
Manufacturer learning reference: Jacquard Procion MX instructions and tie-dye resources. Explore our home fabric dyeing guide for the next project.