A practical checklist for your first dyeing project
1. Choose a manageable item. Start with a low-value washable garment that you can afford to change. Avoid an irreplaceable dress, dry-clean-only construction, coated material or complex embellishments for a first attempt.
2. Read the labels. Record the complete fiber composition and care instructions. Check thread, lining and trims as well as the main fabric. Choose a dye that specifically lists the material; “all-purpose” does not mean every fiber or finish.
3. Read the whole dye process. Confirm the required equipment, temperature, dye quantity, additives, setting time and cleanup. Some synthetic-fiber methods need a separate heated process. Do not improvise a washing-machine method or combine instructions from different products.
4. Set a realistic color goal. Dye adds to the existing shade. It cannot simply make a dark item white, and it does not repair bleach damage or weak fibers. Blends and sewing thread may remain a different color.
5. Test and prepare. Use matching scrap material where possible, and review the shade and condition after the full finishing process. Follow the product’s cleaning and wetting instructions. Protect surfaces, use the advised protection and keep dye equipment separate from food preparation.
6. Complete the treatment. Follow the specified application, setting, rinsing and any fixing steps. Check for color transfer and follow both the product instructions and garment care limits. Wash separately initially if directed.
7. Get help when the project is unsuitable. A professional dyer can assess valuable, delicate or mixed-material clothing. Send photos, labels, current and target colors, quantity, location and deadline, then compare sample requirements, cost, timing and aftercare.
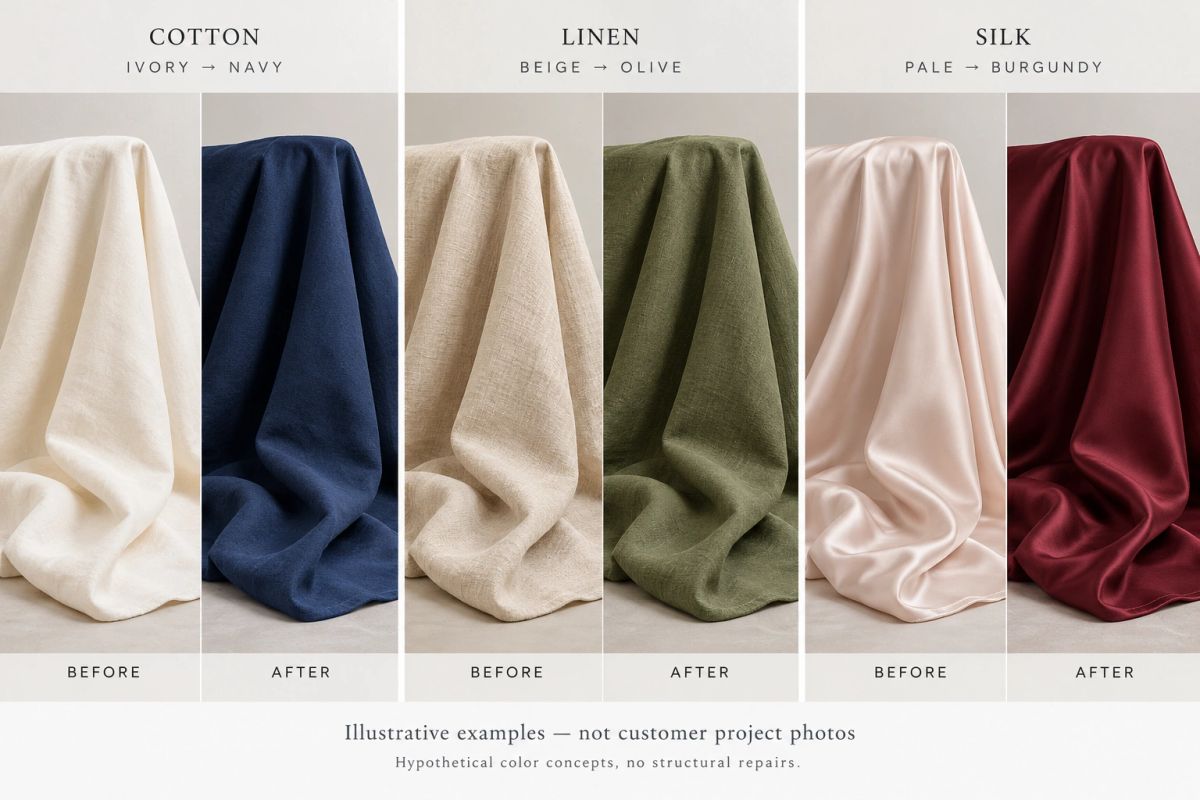
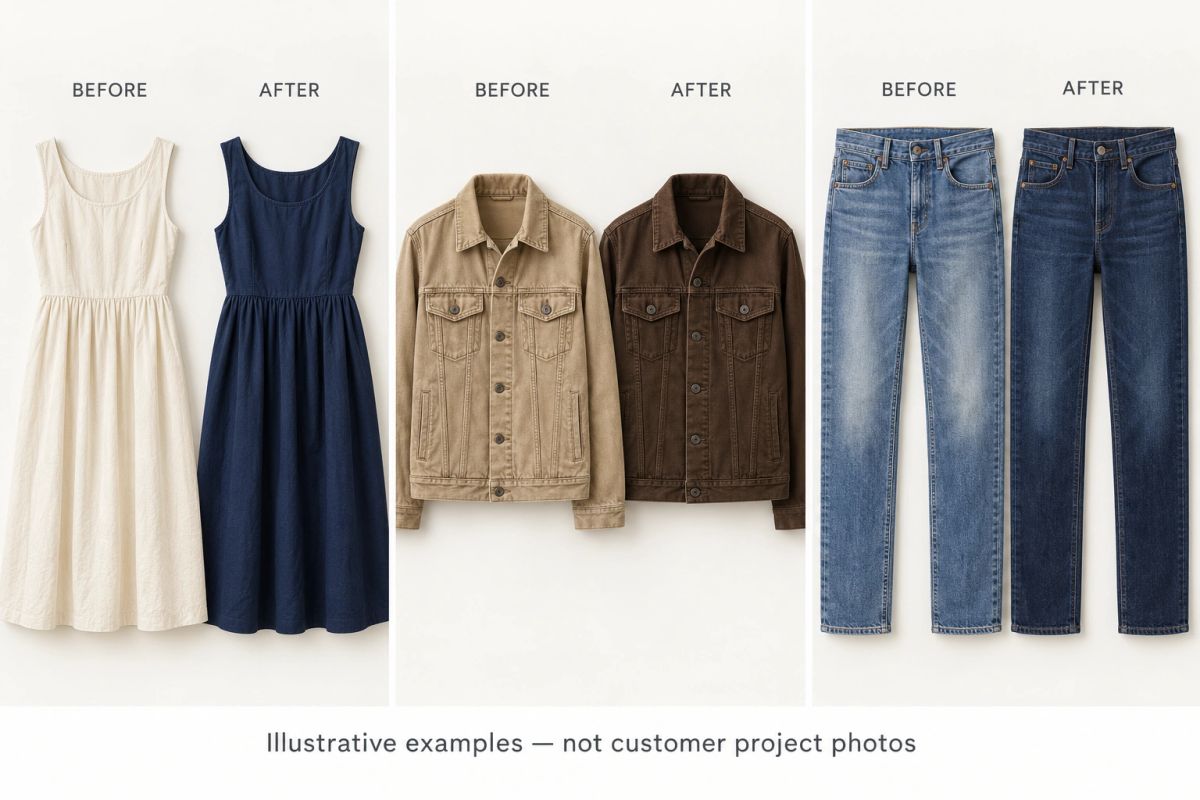
Before & after dyeing color ideas
Actual results depend on the item and treatment. A specialist must assess the complete item, fiber content, existing color and finish before confirming a suitable treatment.
Clothes dyeing
Fabric dyeing